The Video Inspector tool on the VISAVIS platform is designed to provide pieces of evidence to show whether a video has been reused in the past, particularly in the context of combating visual disinformation.
Here’s a step-by-step guide on how to use it:
- Access the Tool:
- You can access the Video inspector via this link: https://visavis.iti.gr/video_inspector/.
- Or through the homepage of the VISAVIS platform
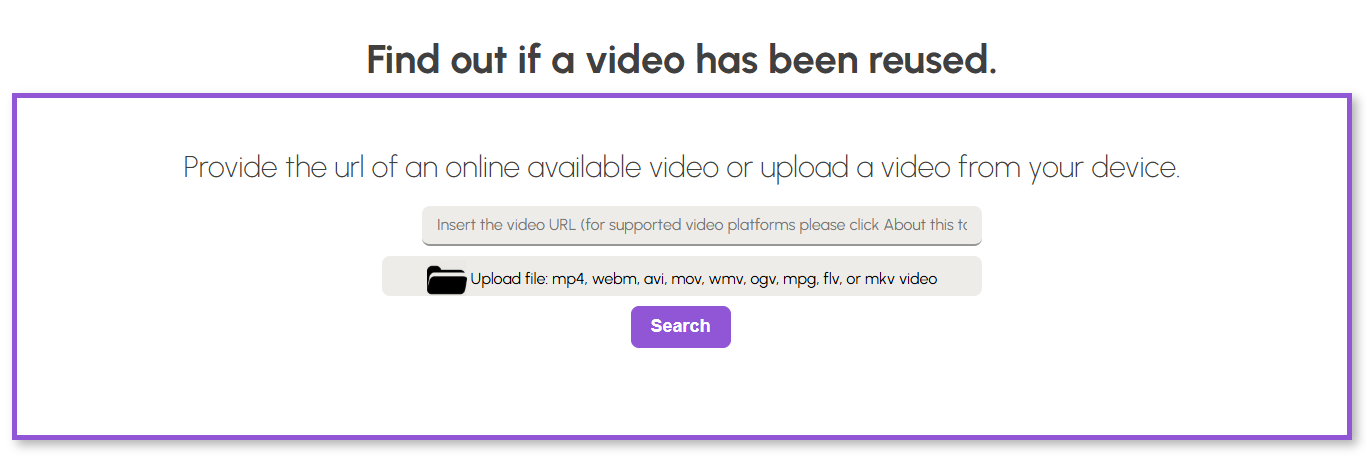
- Submit a video:
- Copy and paste an online video URL.
- Click on the option to upload a locally stored video from your device.
- Please be aware of the limitations when submitting a video:
- Supported video formats: mp4, webm, avi, mov, wmv, ogv, mpg, flv, or mkv video
- A detailed guide on how to input videos or URLs is available on the VISAVIS platform [to add link].
- Initiate the Inspection:
- To begin the analysis, click the ‘Search’ button.
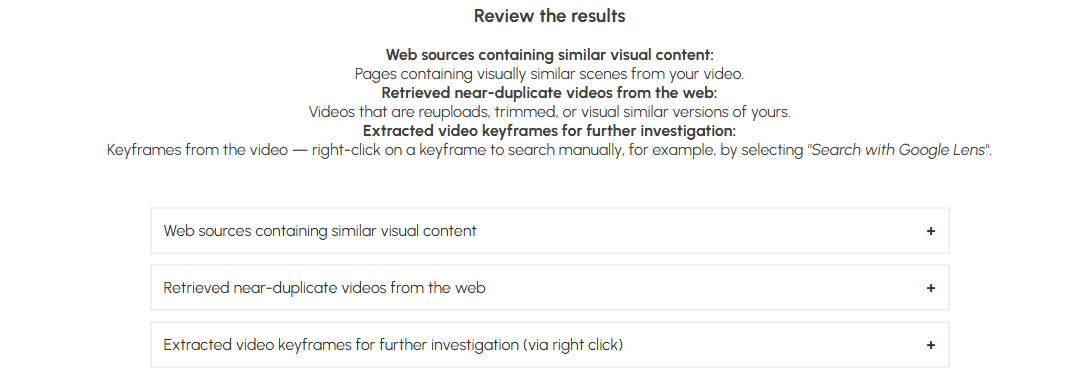
- Review the Results:
- Once the analysis is complete, the tool will provide results consist of three different parts.:
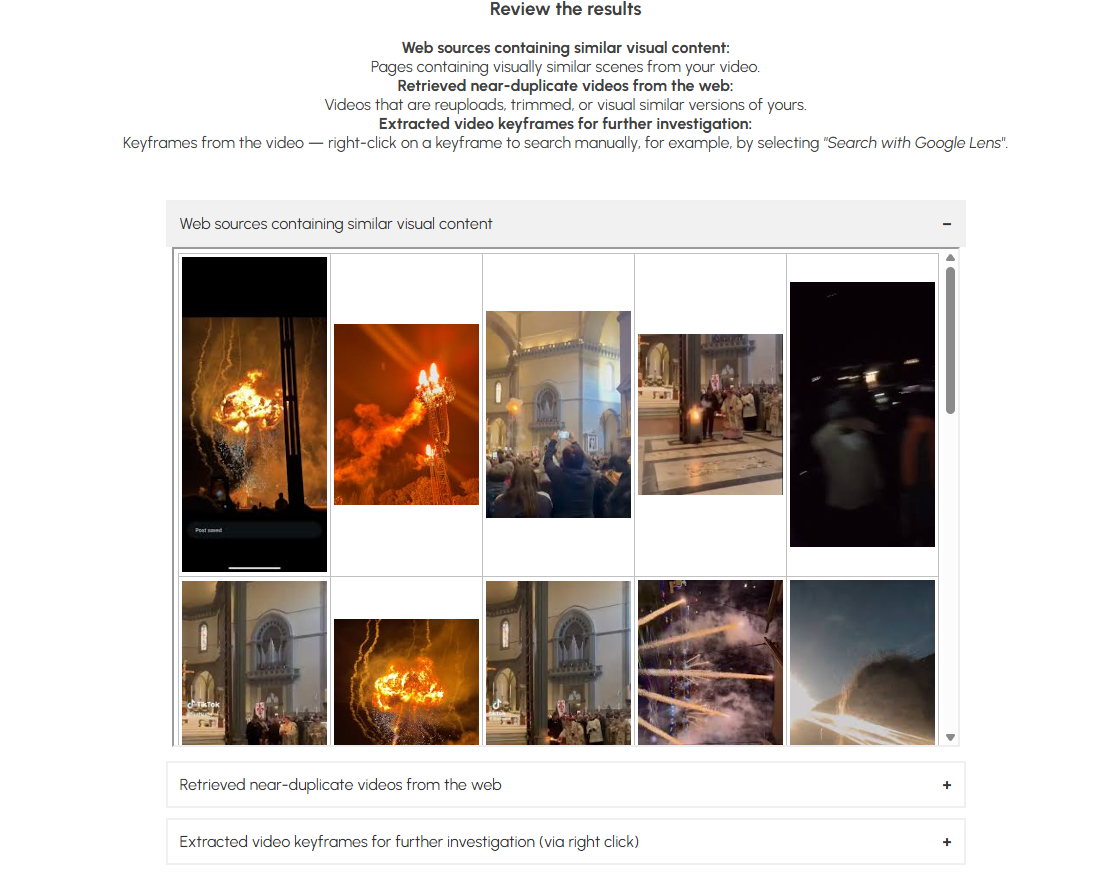
- Web sources containing similar visual content
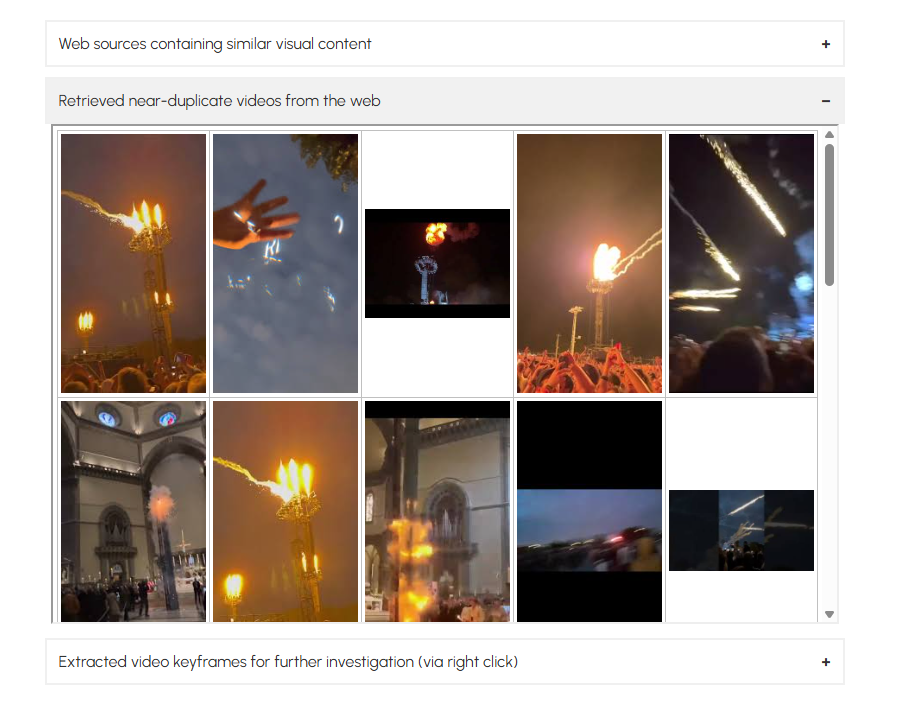
- Retrieved near-duplicate videos from the web
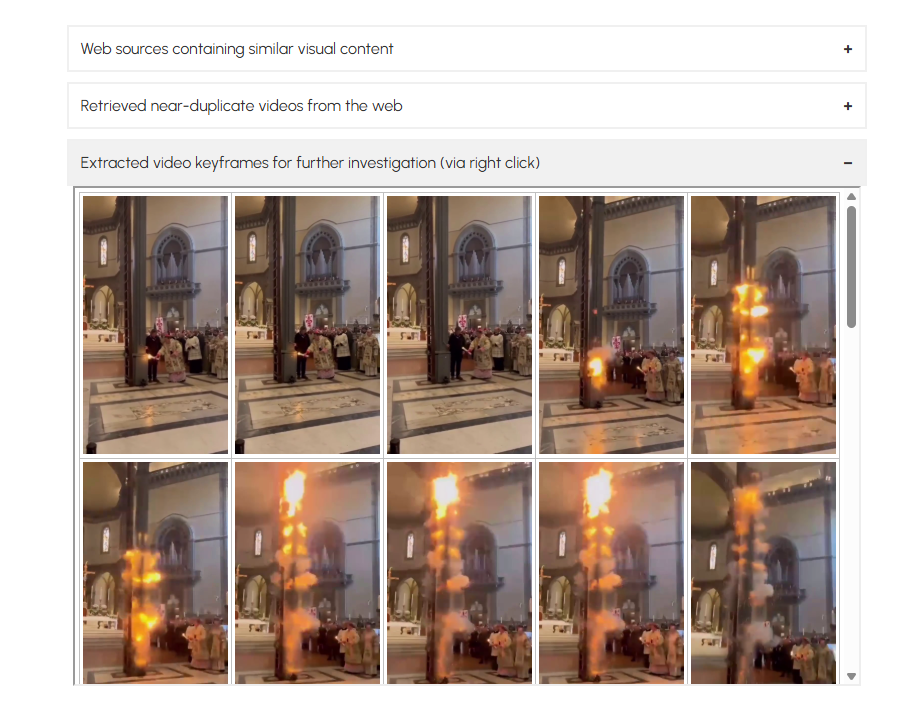
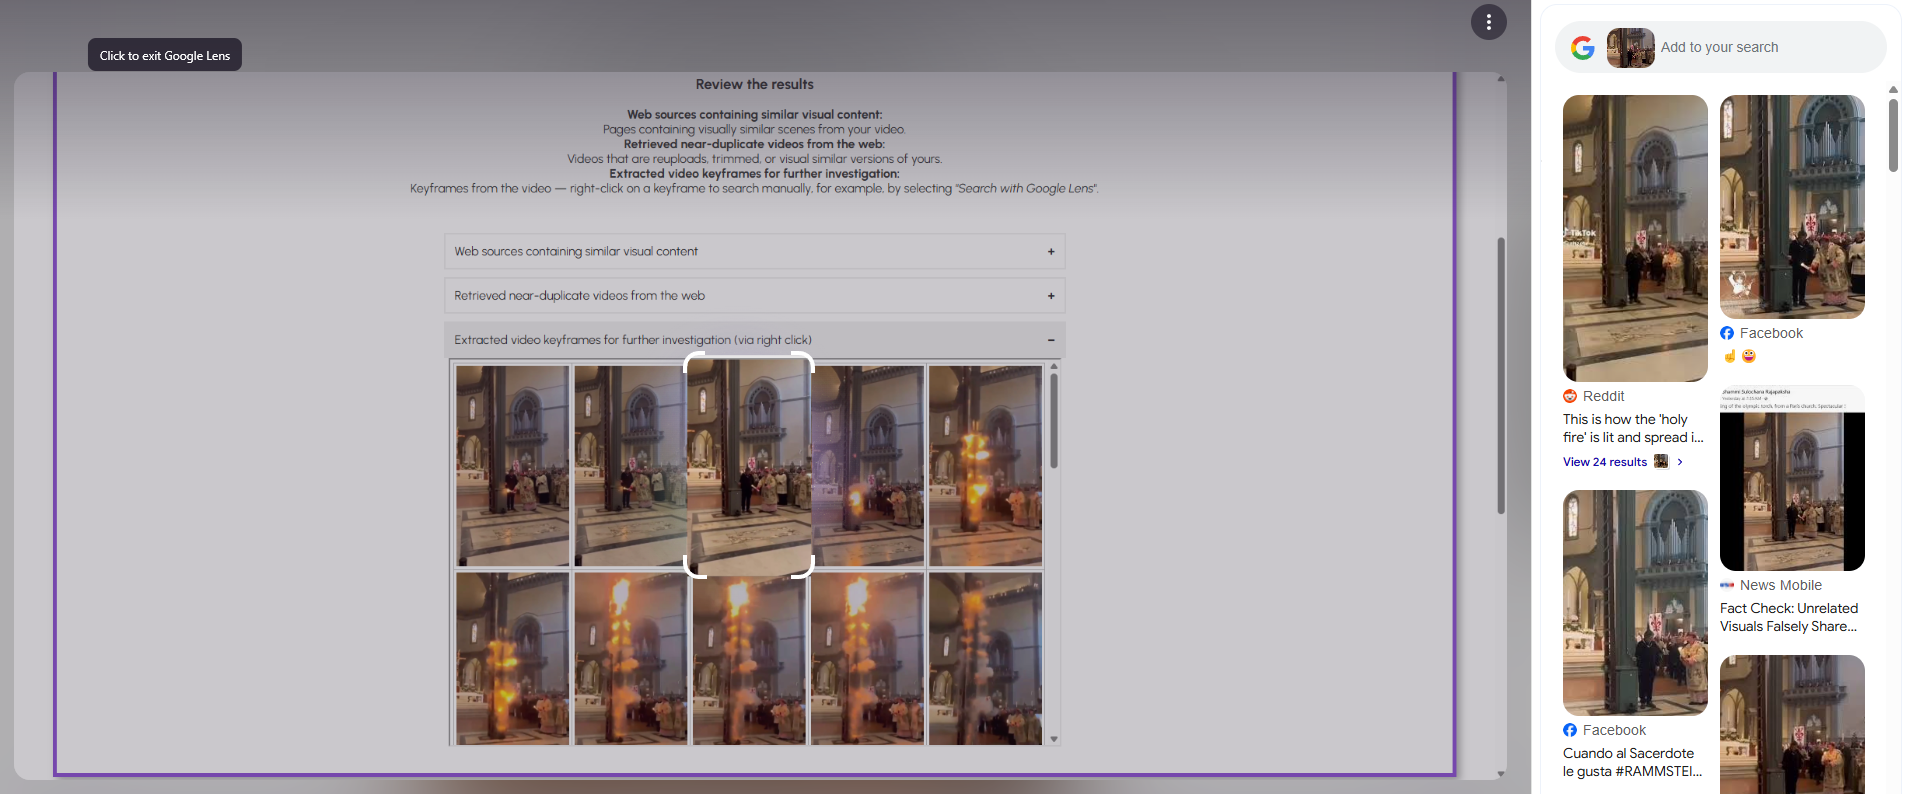
- Extracted video keyframes for further investigation
- Once the analysis is complete, the tool will provide results consist of three different parts.:
Web sources containing similar visual content
Web sources that contain visually similar scenes, indicating where content from the video may appear online.
Retrieved near-duplicate videos from the web
Online Videos that are very similar, such as reuploads, edited versions, or those with similar visuals. This helps us find reused content or possible copyright problems.
Extracted video keyframes for further investigation
The analysis took keyframes from the video. You can use these keyframes for further investigation, like reverse image searching with tools such as “Google Lens“.